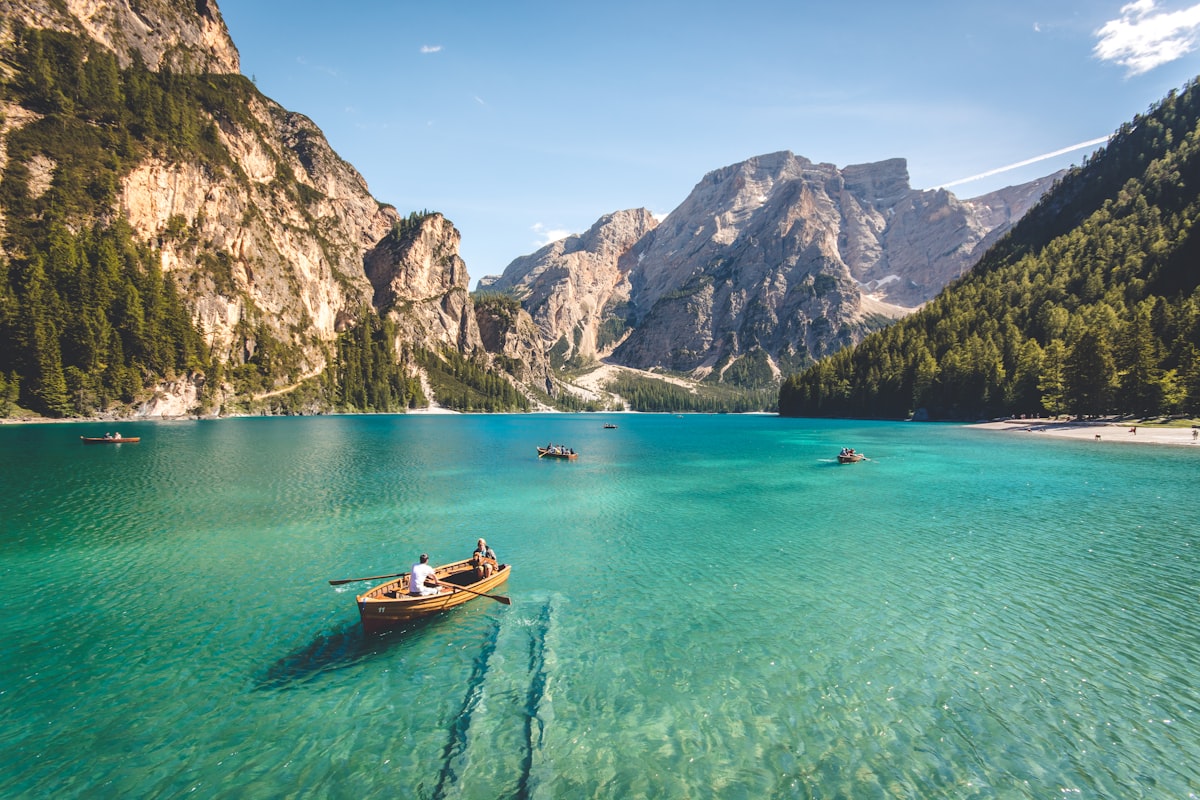
The most common shoot-day problem is not the camera, but the location: a locked gate, a background that looked empty online and is crowded in person, or light that falls exactly where it is least wanted. Location scouting, visiting a place before the shoot, prevents most of those surprises. It does not need to take long, but it should be done deliberately, with a short checklist.
Visit at the same time as the shoot
Light, crowds, and parking change dramatically through the day, so a morning visit tells you little about an evening shoot. Visit at the planned shoot time, if you can, and note where the sun is, which areas are in shade, and how busy the spot becomes. Photograph the location from several angles with your phone, including wide views and close details, and record where you stood for each photo. Those reference photos are invaluable when you return with a client, because they show backgrounds, foregrounds, and walking routes without relying on memory.
Check access, permission, and practicalities
Confirm whether the location is public or private, whether permission or a fee is required, and whether tripods, lighting, or a larger group are allowed. Check parking, toilets, shelter in case of rain, and mobile signal, because a shoot that depends on a gallery link or a map needs a connection. Note any safety issues, such as traffic, water, uneven ground, or areas to avoid after dark, and share them with the client in advance. A location that is beautiful but inaccessible, unsafe, or forbidden is not a usable location, however good it looks in photos. related guide shows the same careful setup applied to a small product shoot at home.
Choose two or three working spots, not one
Pick a main spot, plus one backup in shade or cover, and one alternative if the main spot is crowded. For each spot, note the best direction to face, the cleanest background, and a simple route between spots that does not waste shoot time. Share a short version of the plan with the client, including meeting point and walking time, so nobody is surprised on the day. After the shoot, update your notes with what worked and what did not, because a scouted location improves every time you use it. another guide in this category explains how to work with sun and shade once you are on location.
Scouting is not wasted time. An hour spent checking a location in advance often saves more than an hour of confusion, reshooting, and apology on the shoot day itself.