
Understanding Bathroom Installation Trafford
What is Bathroom Installation?
Bathroom installation refers to the comprehensive process of setting up a bathroom’s various components, including fixtures, fittings, and finishes. This process involves plumbing work, electrical installations, and the arrangement of space to ensure it is functional and aesthetically pleasing. A successful bathroom installation will not only create a comfortable and inviting space but will also enhance the overall value of your home. By investing in bathroom installation trafford, you’re ensuring quality workmanship and professionalism in execution.
Importance of Professional Installation
While DIY projects can be more cost-effective, professional bathroom installation is crucial for several reasons. First, it ensures that all plumbing and electrical work adheres to local building codes and safety regulations. Second, professionals come equipped with the necessary tools and expertise to handle unexpected challenges that may arise during the installation process. Moreover, hiring a professional can save you time and stress, allowing you to enjoy your newly installed bathroom sooner. By leveraging expert knowledge, you’re more likely to achieve a polished finish that contributes to long-term satisfaction and less maintenance hassle.
Common Installation Types
Bathroom installations can vary widely based on your needs and preferences. Common types include:
- Full Bathroom Remodel: This encompasses a complete revamp of the existing bathroom, including layout changes, new plumbing, and fixtures.
- Partial Bathroom Remodel: A partial remodel might involve updating specific elements such as sinks, toilets, or cabinetry, without changing the overall layout.
- New Bathroom Addition: For homes that require extra space, adding a new bathroom often involves significant construction work, including plumbing and electrical installations.
- Accessibility Bathroom Installation: Tailored for individuals with mobility challenges, this installation may include features like walk-in showers, grab bars, and lower countertops.
Essential Preparation Steps
Assessing Space and Design
Before diving into the installation process, it’s crucial to assess the space you have available. Measure the dimensions of your bathroom and note the location of existing plumbing, electrical outlets, and ventilation. This assessment will inform your design choices and help identify whether you can reconfigure the layout or need to work within existing constraints. Consider utilizing design software or working with a design professional to visualize different layouts and select styles that best fit your aesthetic preferences and practical needs.
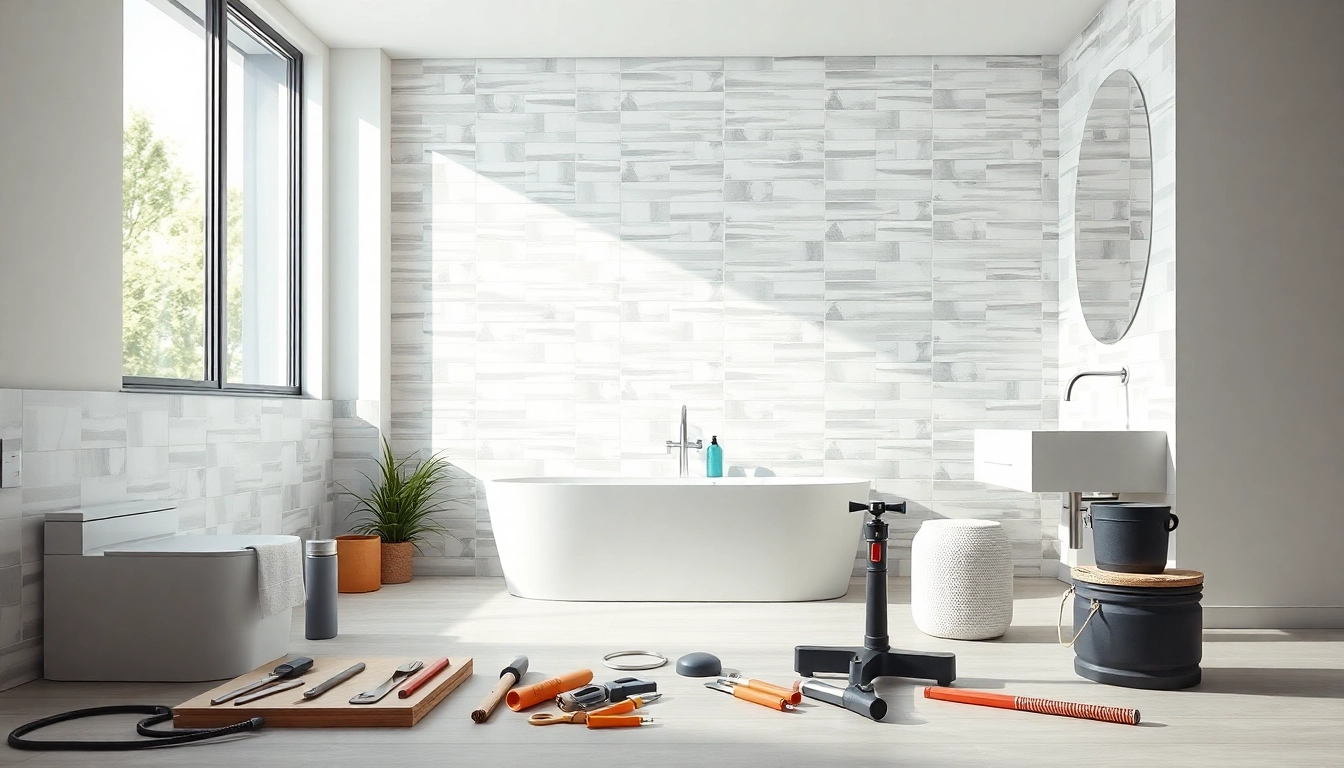
Gathering Necessary Tools
Having the right tools is essential for a successful bathroom installation. Here are some basic tools you may need:
- Measuring Tape: Accurate measurements are the foundation of any installation.
- Level: Ensures that fixtures are installed straight and properly aligned.
- Power Drill: Necessary for fastening and securing fixtures.
- Pipe Wrenches and Pliers: Essential for plumbing tasks.
- Tile Cutter: If you’re working with tiles, a quality cutter is invaluable.
Consider investing in additional specialized tools depending on your specific project requirements. Always prioritize safety by wearing appropriate protective gear, including gloves and safety glasses.
Budgeting for Your Project
Creating a realistic budget is a key step in any bathroom installation project. Start by estimating costs for materials, labor, permits, and any unexpected expenses that may arise during the project. It’s advisable to set aside 10-20% of your total budget for unforeseen costs. Research materials and fixtures online and at local home improvement stores to compare prices and ensure that you’re getting the best quality for your budget. If hiring a contractor, solicit multiple quotes to identify the most suitable option for your financial plan.
Choosing Quality Materials
Understanding Material Options
Your choice of materials can significantly impact both the functionality and aesthetic of your bathroom. Some popular materials include:
- Porcelain and Ceramic Tiles: Known for their durability and water resistance, these tiles are ideal for floors and walls.
- Natural Stone: Options like marble or granite offer a luxurious feel but require more maintenance to prevent stains.
- Laminate and Vinyl Flooring: These options can replicate the look of natural materials while being more affordable and easier to install.
- Solid Surface and Quartz Countertops: They provide a seamless appearance and are resistant to stains, making them perfect for bathroom sinks.
Key Features to Look For
When choosing materials, focus on features that enhance durability and practicality. Look for:
- Water Resistance: Essential for areas with high moisture.
- Ease of Cleaning: Smooth surfaces with minimal grout lines help to reduce the effort required for maintenance.
- Slip Resistance: A critical consideration for flooring, especially in a wet environment.
Choosing materials that meet these criteria will ultimately save you from potential issues down the line, ensuring your bathroom remains in excellent condition for years to come.
Durability vs. Aesthetics
While it’s tempting to purely focus on aesthetics, durability should also be a high priority. Striking the right balance between both involves considering the bathroom’s usage. For high-traffic areas, prioritize robust materials, while luxury items can be reserved for less frequently used spaces. Consult with professionals to understand how certain materials wear over time and how easy they are to repair or replace should the need arise.
Bathroom Installation Process Overview
Step-by-Step Installation Guide
Once you’ve prepared, it’s time to begin the installation process. Here is a general step-by-step guide to help you:
- Turn Off Water and Power: Ensure safety by shutting off water and electrical sources.
- Remove Old Fixtures: Carefully take out existing toilets, sinks, and cabinets.
- Prepare the Space: Address any plumbing or electrical work needed before installing new fixtures.
- Install New Plumbing: Set up new pipes and fittings as needed for the new design.
- Lay Flooring: Install flooring before placing large fixtures to ensure a smooth finish.
- Install Fixtures: Set up cabinets, toilets, bathtubs, and sinks according to design specifications.
- Finishing Touches: Complete the installation by adding trim, lighting, and other decorative elements.
Timing and Project Management
Timing plays a crucial role in bathroom installation. A typical installation can range from three to ten days, influenced by the scope and size of the project. Effective project management is essential to keeping your installation on track. Consider creating a timeline with deadlines for each phase and appointing a trusted individual to oversee daily progress if you are not managing the installation yourself. Regular check-ins can help prevent delays, ensuring that the project moves forward smoothly.
Post-Installation Checklist
Once the installation is completed, take the time to perform a thorough check. Ensure water connections are leak-free, the electrical work is functioning, and all fixtures are securely installed. Assess the overall quality of workmanship and finish. This is also a good time to arrange for a walk-through with your contractor to address any concerns or touch-ups needed before signing off on the project.
Maintenance and Care for Your Bathroom
Routine Cleaning Tips
Maintaining a fresh and clean bathroom requires regular attention. Here are some effective cleaning tips:
- Use Non-Abrasive Cleaners: Protect surfaces by selecting mild, non-abrasive cleaners for regular use.
- Daily Wipe Down: A quick daily wipe of surfaces can prevent build-up and make deep cleaning easier.
- Ventilation: Keep the bathroom well-ventilated to reduce moisture and mold growth.
Preventative Maintenance Hacks
Preventative maintenance can significantly extend the life of your bathroom fixtures. Regularly check for:
- Leaky Faucets: Address leaks immediately to prevent further damage.
- Water Pressure: Monitor changes in water pressure, which may indicate plumbing issues.
- Sealing Grout: Apply sealant to grout lines to prevent water penetration and staining.
Addressing Common Issues Quickly
Even with thorough maintenance, issues can arise. Be prepared to address common problems quickly:
- Mold and Mildew: Use appropriate cleaning solutions to tackle mold growth promptly.
- Clogged Drains: Utilize drain cleaners or professional services if you encounter stubborn clogs.
- Fading Fixtures: Regular cleaning and sealing can help maintain the appearance of fixtures.
FAQs
What should I expect during bathroom installation?
During installation, anticipate disruptions, as professionals will be working on plumbing, tiling, and fixtures.
How long does a typical bathroom installation take?
A standard bathroom installation usually takes between 3 to 10 days, depending on complexity and scope.
Are DIY bathroom installations effective?
While DIY can save costs, professional work ensures safety, compliance, and high-quality outcomes.
What materials are recommended for bathroom fixtures?
Look for water-resistant and durable materials such as porcelain tiles, stainless steel, and tempered glass.
How can I maintain my new bathroom after installation?
Regular cleaning, checking for leaks, and addressing wear promptly will help maintain your bathroom’s quality.


